Summary
Prerequisites
Before you start bridging to Solana via Allbridge, you’ll need a few things in place.
- A compatible wallet: You should use a Solana‑native wallet such as Phantom or the Binance Web3 Wallet for the destination side. For the source network (for example, Avalanche or Ethereum), you can use MetaMask or any EVM‑compatible wallet.
- Funds on both chains: On the source chain, hold the stablecoin you want to transfer (USDT or USDC). On Solana, keep at least 0.01 SOL available to cover gas fees. You can acquire SOL for gas fees on BloFin.
- Confirm network compatibility: Verify that your source blockchain is supported by Allbridge. The platform connects over 25 blockchains, but availability varies by token type.
- Check token support: Not all tokens are available for bridging. Allbridge specializes in stablecoin transfers, while other bridges offer different token options.
- Slippage tolerance set: In your wallet or on Allbridge, set slippage to around 1 percent. That helps prevent failed transactions when market prices shift.
Step-by-Step Guide: Bridge to Solana via Allbridge
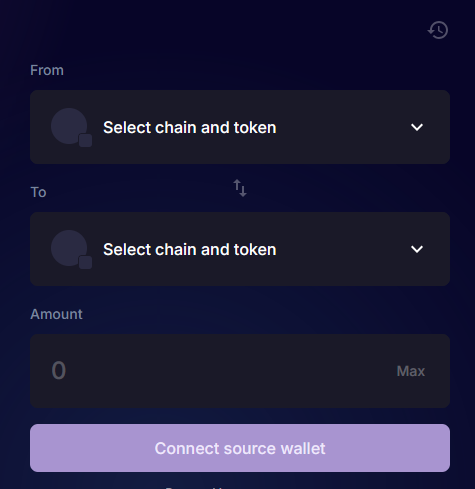
Allbridge is a widely used platform for moving assets to Solana from various source networks. Follow these steps to bridge your assets successfully:
Actionable tips:
- To optimize costs, compare fees on both USDT and USDC before bridging, since one may be cheaper depending on network congestion.
- For speed, execute your transfer during off‑peak hours (UTC early morning) to avoid longer confirmation times.
- If you see a pending transaction in your source wallet for more than 15 minutes, you can safely cancel and retry with a slightly higher gas fee.
Alternative Platforms
If you ever need another way to Bridge to Solana, these two options can handle more token types or offer additional network support:
Portal Bridge
Portal Bridge supports a wider range of tokens, including native SOL and Bitcoin Layer 2 assets. It locks your original tokens in a source‑chain contract and mints wrapped assets on Solana. You can expect settlement in under 15 minutes, though fees may be slightly higher than Allbridge.
Symbiosis
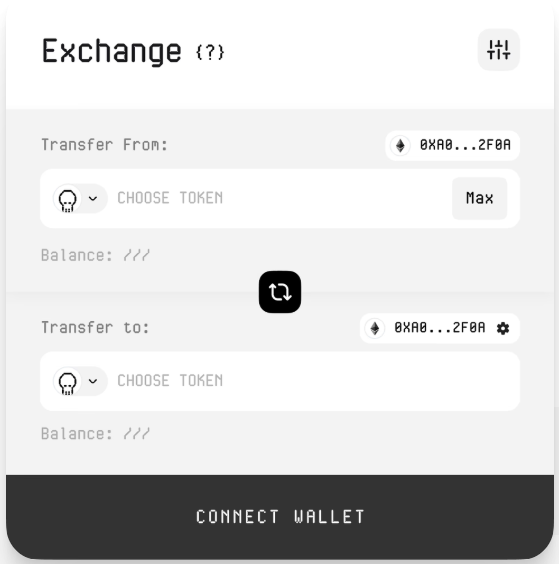
Symbiosis is a cross‑chain liquidity protocol built for fast, low‑cost token swaps across multiple blockchains. It aggregates liquidity and leverages automated market makers on each network so you can move assets quickly and with minimal fees; no centralized bridges needed.
Final Thoughts
Bridging to Solana opens the door to a fast, scalable network teeming with opportunities, from trading on perpetual DEXes to exploring niche memecoins. This guide equips you with the knowledge to use Allbridge effectively, alongside other platforms, to bridge to Solana.
FAQs
1. How long does it take to bridge via Allbridge?
The process usually takes between 5 minutes and an hour, depending on the source network’s congestion and Solana’s performance at the time.
2. What if my assets don’t show up after bridging?
Double-check that you’ve claimed them on Solana through Allbridge. If they’re still missing, confirm the transaction hash and reach out to Allbridge support with the details.
3. Can I reduce bridging fees?
Yes, consolidating transfers into fewer, larger transactions can lower percentage-based fees. Also, compare Allbridge’s rates with other bridges for your specific asset.
4. Can I use MetaMask on Solana?
Not directly. You connect MetaMask for the source chain, but you need a Solana‑native wallet like Phantom for the destination side. Phantom handles the SPL tokens on Solana.

